This paper presents post-processing techniques for transparent resin printing. It highlights the significance of post-processing for improving print quality. Cleaning (by ultrasonic bath or IPA dunking), support removal, and curing (using curing stations, nail polish lamps, or homemade chambers) are key steps. Common tools for each step are introduced. Methods to enhance the post-processing effect are also discussed, including optimizing cleaning, precise support removal, improving curing uniformity, enhancing grinding/polishing quality, and improving the painting effect.
The importance of post-processing of transparent resin printing
The post-processing of transparent resin printing is an important link to improving the quality of printed parts.
Firstly, cleaning is the crucial first step.
When the printed part is taken out of the printer, it will be covered with uncured resin, which must be removed. One method is to use ultrasonic bath cleaning, similar to cleaning jewelry. Fill the bathtub with cleaning agent to cover the printed part, and then let it stand for a few minutes. This method can remove the fine layer of uncured resin stuck to the model, resulting in a smooth and clean surface, but this method is more professional and expensive. Another common method is slam dunk and rinse, immersing the part in an IPA (isopropyl alcohol) bathtub, moving the part and rinsing it clean, but it may require multiple rinses to completely remove the resin on the surface, and its cleaning effect is not as thorough as ultrasonic bath.
Removing the support structure is also an important step in post-processing.
The support structure plays a role in supporting the model during the printing process, but needs to be removed after printing is completed. The support can be removed before or after solidification, but it will be easier to remove before solidification. If you are not worried about small details, manually disconnecting the support is the fastest method; but if the model has good function, you need to pay more attention to the operation. The support can also be removed using a flat-headed tool, but these two methods may leave small pieces on the printed matter and require sanding.
Curing is the final step in post-processing.
Curing is necessary for many functional resins because it can determine the material properties of the model. There are various curing methods, such as using curing stations, which are sold by many SLA printer manufacturers. This method is suitable for larger prints and professional environments, and has been specially optimized for its resin, which can precisely adjust the curing time. Nail polish curing lamps can also be used, and the printed parts can be placed under the lamp overnight. Adding a turntable can help obtain more even exposure. Some amateurs will also build their own inexpensive curing chambers, place ultraviolet sources in aluminum foil-lined boxes, and place the model on a solar or battery-powered turntable to obtain even exposure. Even solar energy can be used to place parts outdoors on sunny days, allowing sunlight to complete the curing work.
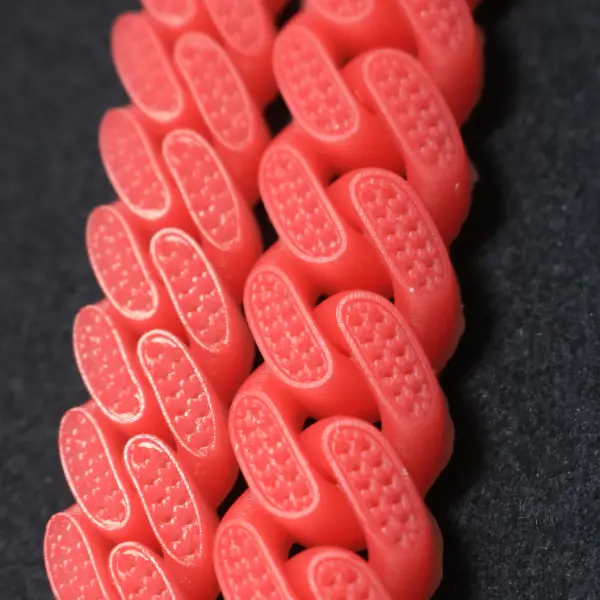
In addition to the above basic steps, grinding, polishing, painting and other operations can also further improve the effect of transparent resin printed parts. Polishing can make the surface smooth. For transparent samples, appropriate polishing can improve transparency and light transmittance. According to the needs, sandpaper of different mesh sizes can be selected, and gradually polished from coarse to fine. If painting or electroplating processes are needed, multiple repeated polishing is needed to improve the surface smoothness of the model. Polishing operations can make the surface smoother, and painting can change the color of the printed part or increase its transparency according to the needs (such as spraying varnish to improve the transparency of transparent parts).
Common transparent resin printing post-processing tools
I. cleaning tools
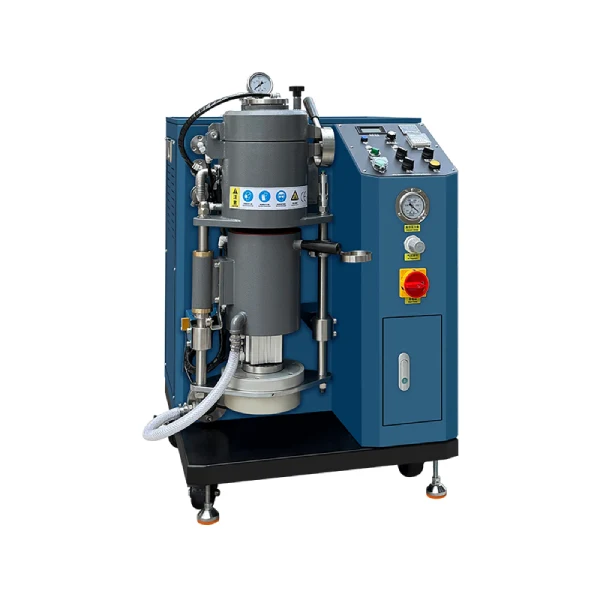
Ultrasonic cleaning equipment
Ultrasonic cleaning is a professional method for cleaning SLA printed materials. In the post-processing of transparent resin printing, ultrasonic cleaning equipment is an effective tool for cleaning uncured resin. It generates tiny bubbles in the cleaning solution through high-frequency vibration. These bubbles burst when they come into contact with the surface of the printed part, and the impact force generated can remove the uncured resin stuck to the model. Its advantage is good cleaning effect, which can penetrate into some small gaps and corners, making the surface of the model smoother and cleaner. However, its price is relatively expensive and requires specific cleaning solutions to be used in conjunction. For example, in some professional 3D printing post-processing studios, ultrasonic cleaning equipment is preferred for cleaning high-precision and high-demand transparent resin printed parts.
IPA (isopropanol) bathtub
IPA is a commonly used organic solvent. In the absence of an ultrasonic bath, immersing the printed part in an IPA bathtub for dunking and rinsing is a simple and effective cleaning method. IPA can dissolve uncured resin. By moving the parts and rinsing multiple times, the resin attached to the surface can be gradually removed. When operating, pay attention to selecting a suitable container to ensure that the printed part can be completely immersed in the solution, and pay attention to ventilation because IPA has a certain volatility. At the same time, because its cleaning effect may not be as thorough as an ultrasonic bath, it may require two or more rinsing operations, which requires preparing a sufficient amount of IPA solution.
II. Support removal tool
Flat head cutter
When removing the support structure of transparent resin printed parts, a flat-headed cutting tool is a commonly used tool. It can be used to cut off the connection between the support and the main body of the model. For some larger support structures or harder resin materials, the flat-headed cutting tool can be operated more conveniently. However, extra care should be taken when using it to avoid scratching the surface of the model. For example, when dealing with some structurally complex and supported printed parts, it is necessary to patiently use the flat-headed cutting tool to gradually remove the support, and at the same time, observe whether the surface of the model is damaged at any time. Once signs of scratches are found, adjust the operation method or replace the tool in time.
Forceps
Tweezers are also useful for removing support structures, especially for small supporting parts. Tweezers can accurately grip the support structure and then pull it out of the model. For some fragile transparent resin printed parts, the fine operation of tweezers can reduce damage to the model. For example, when dealing with small, finely structured transparent resin figurine models, tweezers can help easily remove those tiny supporting parts that are difficult to handle directly by hand.
III. Curing tools
Solidification station
The curing station is a device sold by many SLA printer manufacturers specifically for curing printed parts. It is optimized for specific resins and can accurately adjust the curing time, which is very useful for larger printed parts and professional environments. The UV intensity and distribution inside the curing station are designed to ensure uniform curing of all parts of the printed parts. In the workshops of some commercial 3D printing service providers, curing stations are used to ensure consistency and high quality of curing effects for transparent resin printed parts produced in bulk.
Nail polish curing lamp
The nail polish curing lamp is a relatively low-cost and easy-to-obtain curing tool. Its principle is to emit ultraviolet light, and the transparent resin printed part can be placed under the nail polish lamp overnight to achieve curing. If a turntable is added during the curing process, all surfaces of the printed part can be evenly irradiated with ultraviolet light, improving the uniformity of curing. For some small, personally made transparent resin printed parts, the nail polish curing lamp is a very practical choice. For example, some 3D printing enthusiasts use nail polish curing lamps to cure small transparent resin ornaments.
Homemade curing chamber
Many amateur enthusiasts choose to build their own inexpensive curing chambers. Usually, a UV source is placed in a box lined with aluminum foil, which reflects UV rays and improves the utilization rate of UV rays in the curing chamber. The model is placed on a solar or battery-powered turntable, which can continuously rotate the model to obtain uniform UV exposure. The cost of making a self-made curing chamber is low, and it can be customized according to one’s own needs, such as adjusting the intensity and position of the UV source. This method is suitable for some 3D printing enthusiasts who are sensitive to cost and like to do it themselves. They can use some simple materials to make curing equipment that meets their own needs.
IV. Grinding and polishing tools
Sandpaper
Sandpaper is the basic tool for polishing transparent resin printed parts. Sandpaper with different mesh sizes is used for different polishing stages. For example, starting from a low mesh size (such as 800 mesh) for rough polishing can quickly remove defects and uneven parts on the surface of the model; then gradually using sandpaper with a high mesh size (such as 1500 mesh, 2000 mesh, etc.) for fine polishing to make the surface smoother. When polishing transparent resin, attention should be paid to the direction and intensity of polishing to avoid scratches or uneven polishing. Improper polishing may affect the transparency and appearance quality of the printed parts. For some transparent resin printed parts that require high transparency, such as transparent display models or optical component models, the selection and polishing skills of sandpaper are particularly important.
Polishing machine (or polishing paste)
For transparent resin printed parts with higher requirements, a polishing machine or polishing paste can further improve the surface smoothness. The polishing machine polishes the surface of the printed part through a high-speed rotating polishing wheel, which can make the surface very smooth. If there is no polishing machine, polishing paste can also be used with a soft cloth for manual polishing. The polishing paste contains tiny grinding particles, which can fill in the fine scratches left by sandpaper polishing and further improve transparency. For example, when making transparent resin handicrafts, the use of a polishing machine or polishing paste can make the product surface have a crystal-clear texture.
V. painting tools
Spray gun
When it is necessary to spray paint on transparent resin printed parts, a spray gun is a commonly used tool. The spray gun can evenly spray paint on the surface of the printed part, forming a smooth and uniform paint surface. When using the spray gun, it is necessary to adjust the parameters such as pressure, spray width, and spray amount according to the size, shape, and painting requirements of the printed part. For some larger transparent resin models, such as car models or large sculpture models, the spray gun can efficiently complete the painting work. At the same time, in order to ensure the painting effect, it is also necessary to perform appropriate surface treatment on the printed parts before spraying, such as polishing and cleaning.
Protective equipment (masks, gloves, etc.)
During the painting operation, in order to protect the health of the operator, protective equipment such as masks and gloves are essential. The paint may contain harmful substances such as volatile organic compounds (VOCs), and masks can prevent inhalation of these harmful substances; gloves can protect the skin of the hands and avoid direct contact with the paint. For example, when using a spray gun to paint transparent resin printed parts, the operator should wear a suitable activated carbon mask and chemically resistant gloves to ensure that the painting operation is carried out in a safe environment.
Method for improving post-processing effect of transparent resin printing
I. optimize the cleaning effect
Multiple cleaning
Whether using ultrasonic bath or IPA slam and rinse methods to clean transparent resin printouts, multiple washes can help improve the cleaning effect. For the case of using IPA slam and rinse, it is necessary to perform two or more washes because a single wash may not completely remove uncured resin. After each rinse, you can check whether there is any resin residue on the surface of the printout. If there is, continue to rinse until the surface is clean. For example, when cleaning some transparent resin printouts with complex structures and small holes inside, multiple washes can ensure that these difficult-to-reach parts can also be cleaned.
Combining different cleaning methods
Ultrasonic cleaning can be combined with IPA dunking and flushing. First, ultrasonic cleaning is used to remove most of the uncured resin, and then IPA is used for final flushing to remove a small amount of resin that may remain. This combination can fully utilize the advantages of both cleaning methods, achieving good cleaning results and saving costs to a certain extent. For example, when dealing with transparent resin printouts with extremely high surface quality requirements, such as optically transparent lens models, ultrasonic cleaning is used to ensure that most of the resin inside and on the surface is removed, and IPA flushing is used to ensure that the surface is completely clean and residue-free.
II. Precise removal of support
Use auxiliary tools to operate carefully
When removing the support structure, in addition to using tools such as flat-headed knives and tweezers, auxiliary tools such as magnifying glass can also be used. For some very small support structures, the connection between the support and the model can be observed more clearly under the magnifying glass, so as to perform the removal operation more accurately and reduce damage to the surface of the model. For example, when making some miniature transparent resin models, such as micro-biological structure models, using magnifying glass to assist in removing the support structure can avoid damaging the fine parts of the model.
First weaken the support connection point
Before removing the support, some methods can be used to weaken the connection points between the support and the model body. For example, a small heating tool can be used to slightly heat the connection points (for transparent resins with good thermal stability) to soften the resin slightly, making it easier to remove the support and reducing the possibility of leaving marks on the model surface. Alternatively, chemical reagents can be used to locally treat the connection points (while ensuring that no damage is caused to the model body) to make it easier for the support to separate from the model.
III. Improve curing uniformity
Adjust the parameters of the curing equipment
If using a curing station or a self-made curing chamber for curing, adjusting the parameters of the curing equipment is very important for improving the uniformity of curing. For the curing station, parameters such as UV intensity, irradiation time, and irradiation angle can be accurately adjusted according to the size, shape, and resin type of the printed part. In the self-made curing chamber, the distance, power, and rotating speed of the UV source can be adjusted. For example, when curing a large transparent resin rectangular parallelepiped model, the UV intensity of the curing station can be appropriately increased, the irradiation time can be extended, and the irradiation angle can be adjusted to ensure that all surfaces of the rectangular parallelepiped can be uniformly cured to prevent excessive or insufficient local curing.
Optimize the placement of printouts
During the curing process, the placement of the printed part will also affect the uniformity of curing. For irregularly shaped transparent resin printed parts, they can be placed in a position where all surfaces can be maximally exposed to ultraviolet rays. For example, for a transparent resin model with a curved shape, special fixtures can be used to fix it in the curing equipment, so that the inner and outer surfaces of the curved part can be uniformly exposed to ultraviolet radiation. If a self-made curing chamber is used, some reflective materials (such as aluminum foil) can be placed around the model to reflect ultraviolet rays to the shadow part of the model, improving the overall uniformity of curing.
IV. Improve the quality of grinding and polishing
Follow the correct polishing sequence
When polishing transparent resin printed parts, follow the order from low mesh to high mesh. First, use low mesh sandpaper (such as 800 mesh) for rough polishing to remove large defects and uneven parts on the surface of the model; then gradually use high mesh sandpaper (such as 1200 mesh, 1500 mesh, 2000 mesh, etc.) for fine polishing. This can gradually improve the smoothness of the surface and avoid low polishing efficiency or uneven polishing caused by direct use of high mesh sandpaper. For example, when polishing a transparent resin figurine model, first use 800 mesh sandpaper to polish the overall outline, then use 1200 mesh sandpaper to polish the details, and finally use 1500 mesh or 2000 mesh sandpaper for final polishing, making the surface of the model smooth as a mirror.
Control the strength and speed of grinding and polishing
During the polishing and sanding process, the control of force and speed is crucial. If the force is too strong, it may leave deep scratches on the surface of the model, affecting transparency; if the speed is too fast, it may cause uneven sanding or polishing. When using sandpaper for sanding, the sandpaper should be moved smoothly on the surface of the model with appropriate force; when using a polishing machine, the pressure applied should be adjusted according to the rotation speed of the polishing wheel and the material of the model. For example, when polishing a transparent resin optical component model, a lighter pressure and moderate polishing machine speed should be used to ensure surface smoothness without damaging the optical performance of the model.
V. Improve the painting effect
Surface pretreatment
Before painting, sufficient surface pretreatment of transparent resin printed parts is the key to improving the painting effect. First, thorough cleaning should be carried out to remove impurities such as dust, oil, and residual resin on the surface. Then, polishing treatment should be carried out to make the surface have a certain roughness, which can improve the adhesion of the paint. For some printed parts that require high-quality painting effects, such as car models or high-end handicraft models, primer can be used after polishing to further improve the adhesion between the paint and the surface. For example, when making a transparent resin car model, the surface should be cleaned with a cleaning agent first, then polished with 800-1200 mesh sandpaper, and finally sprayed with a layer of primer, and then sprayed with topcoat, which can make the painting effect more lasting and beautiful.
Multi-layer painting and appropriate drying time
The use of multi-layer painting can improve the effect of painting. Each layer of paint should be thin and uniform to avoid phenomena such as flowing paint and orange peel. After each layer of paint, sufficient drying time should be given to allow the paint to fully solidify. For example, when spraying a transparent resin figurine model, a layer of base color can be sprayed first, followed by a layer of shadow color after drying, and finally a layer of protective paint. After each layer of paint, appropriate drying time should be given according to the type and environmental conditions of the paint, such as drying at room temperature for 24-48 hours (for some slow-drying paints), which can make the color of the paint more full, uniform, and have better durability.