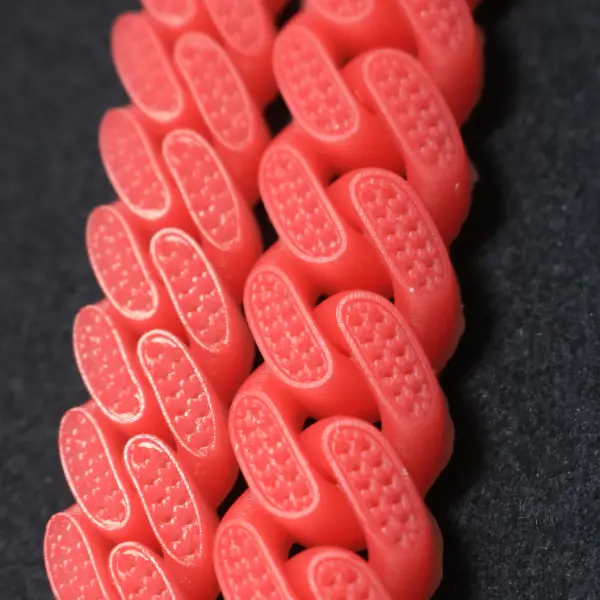
In high-end jewelry manufacturing, a fraction of a millimeter is the difference between a perfect fit and a costly recast. Many designers face a common frustration: the CAD model looks flawless, the supports are stable, and the print looks crisp, yet the final cast ring is half a size too small. This is the resin 3D printing shrinkage challenge—a physical reality of photopolymer chemistry that can be managed with the right technical approach.
Why Are My 3D Printed Rings Too Small? Understanding the Science
To achieve 3D printed ring sizing accuracy, you must first understand photopolymerization. When UV light hits liquid resin, monomers link together to form polymer chains. This chemical bonding pulls molecules closer together, causing a natural reduction in volume.
- Volume vs. Linear Shrinkage: Most resins have a volume shrinkage of 1.5% to 3%. For a ring with a 16mm internal diameter, a 2% shrink results in a 0.32mm reduction—enough to move the ring down an entire size.
- Material Chemistry: Acrylic-based resins typically shrink more (5-10%) than epoxy-based systems (1-5%). Using the best resin for investment casting jewelry usually means choosing a formula with inorganic fillers like silica to stabilize dimensions.
- The “Green State”: When a print finished, it is in a “green state,” meaning it isn’t fully cured. Further shrinkage occurs during the final post-processing phase.
Selecting the Best Resin for Investment Casting Jewelry
Choosing a low-shrinkage resin is your first line of defense. When reviewing a Technical Data Sheet (TDS), look for materials that prioritize micron precision and dimensional stability. High-quality casting resins use high-molecular-weight monomers which reduce the concentration of reactive bonds, thereby lowering the total shrinkage during the LCD 3D printer dimensional accuracy calibration process.
How to Calibrate Your 3D Printer for Jewelry
You cannot rely on the theoretical shrinkage values provided by manufacturers. To get castable resin calibration right, follow this standardized workflow:
- Print Calibration Rings: Design a series of standard ring bands at specific diameters (e.g., 16mm, 18mm, 20mm).
- Measure with Digital Calipers: After full post-processing, measure the internal diameter (ID) of the printed rings.
- Calculate the Scaling Factor: If your 18.00mm CAD model prints at 17.82mm, your scaling factor is 1.01 (1% expansion).
- Verify with a Ring Mandrel: Ensure the physical fit matches standard jewelry sizing tools used in your workshop.
Mastering Slicer Compensation: ChituBox and Lychee Settings
Once you have your calibration data, apply linear shrinkage compensation in ChituBox or Lychee. Relying only on “Global Scaling” is often insufficient because rings are closed-loop structures that shrink differently than solid objects.
- Resin 3D printing horizontal expansion settings: Use the “Tolerance Compensation” or “Offset” feature. Inputting a positive value (e.g., +0.02mm to +0.05mm) compensates for the “pull-in” effect during curing.
- X/Y/Z Scaling: In many LCD 3D printers, the Z-axis (height) shrinks at a different rate than the X/Y axes. Apply independent scaling percentages if your ring heights are inconsistent.
Optimizing Post-Curing for Sizing Accuracy
The jewelry 3D printing post-curing temperature and duration significantly impact the final size. Precision does not end when the build plate rises.
- Avoid IPA Over-soaking: Excessive cleaning in Isopropyl Alcohol can cause the resin to swell and then contract aggressively, leading to warping.
- Controlled UV Wavelength: Ensure your curing station matches the UV wavelength required by your resin (usually 405nm).
- Heat Management: Curing at a slightly elevated, stable temperature helps release internal stresses and ensures the polymer reaches its full micron precision without distorting the internal diameter.
Conclusion: Standardizing Your Precision Workflow
Solving the shrinkage puzzle requires moving from guesswork to a data-driven workflow. By combining CAD scaling, precise slicer offsets, and disciplined post-processing, you transform 3D printing into a reliable production tool. When you ensure a perfect ring size every time, you reduce waste in investment casting and build a reputation for professional craftsmanship.
Summary Checklist for Perfect Sizing:
- Select a high-fill, low-shrinkage castable resin.
- Run a monthly calibration test for your specific printer/resin combo.
- Apply horizontal expansion offsets in your slicer.
- Monitor post-curing temperatures to prevent thermal warping.
- Verify every batch with digital calipers before casting.